We’ve taken our dogs overseas twice now — once to Europe and once to Southeast Asia — and honestly, the first trip was a mess of last-minute paperwork and panicked vet visits. The second time around, we had a system. That’s what we’re sharing here.
Traveling overseas with a dog is absolutely doable. But it’s not something you figure out a week before your flight. Some countries need blood tests done six months in advance. Others will turn your dog away at the border if a single form is missing. We’ve learned most of this the hard way so you don’t have to.
The Big Picture: What You’re Getting Into
Before we dig into specifics, here’s the reality. Taking a dog overseas involves three main buckets of work:
- Paperwork and health requirements — microchips, vaccines, health certificates, blood tests
- Logistics — finding the right airline, choosing a crate, booking routes
- Your dog’s comfort — crate training, managing anxiety, hydration
None of it is rocket science. But it does require planning, and the timelines are not flexible. Government agencies don’t care that your flight is tomorrow.
Step 1: Check Your Destination Country’s Rules (6 Months Before)
This is step one for a reason. Every country has its own pet import rules, and they vary wildly.
The best resource for U.S.-based pet parents is the USDA APHIS pet travel website (aphis.usda.gov/aphis/pet-travel). You select your destination country, and it lays out exactly what’s needed. If you’re outside the U.S., check your country’s equivalent agricultural or veterinary authority.
Some examples of how different the rules can be:
- United Kingdom: Requires a microchip, rabies vaccination, and a rabies titer blood test (more on that below) at least 30 days after vaccination. No quarantine for dogs from approved countries anymore, but the paperwork has to be spot-on.
- Japan: Requires a microchip, two rabies vaccinations (at least 30 days apart), a rabies titer test, and an advance notification to the Japanese quarantine station at least 40 days before arrival. Dogs may face a 12-hour quarantine on arrival.
- Australia: One of the strictest. Requires microchip, rabies vaccine, rabies titer test, additional vaccines (like canine parvovirus), internal parasite treatment, and a minimum 10-day quarantine at an approved facility. The whole process can take 6+ months.
- European Union: Relatively straightforward for U.S. dogs — microchip, rabies vaccination at least 21 days before travel, and an EU pet health certificate issued within 10 days of travel. As of 2024, the EU no longer accepts pet passports issued outside the EU.
Also check if your destination has breed restrictions. Some countries ban or restrict breeds they consider dangerous — pit bulls, rottweilers, and dogo argentinos are commonly affected. If your dog looks like they might fall into one of these categories, look into it early.
Step 2: Get Your Dog Microchipped (5-6 Months Before)
Almost every country requires your dog to have a microchip for international travel. And not just any microchip — most countries require a 15-digit ISO 11784/11785 compliant chip.
Here’s the detail that trips people up: the microchip must be implanted before the rabies vaccination. Many countries will not recognize a rabies vaccine that was given before the microchip. If you get this order wrong, you may need to re-vaccinate and start the waiting period all over again.
If your dog already has a non-ISO chip (common with some U.S. shelters), you have two options: get a second ISO chip implanted, or bring your own microchip scanner that can read your dog’s chip. The first option is simpler.
After chipping, register the microchip number with an international database like HomeAgain or PetLink, and double-check that your contact info is current. An unregistered chip is basically useless.
Step 3: Rabies Vaccination and Blood Tests (3-6 Months Before)
A current rabies vaccination is required by virtually every country on earth. The specifics matter though:
- Primary vaccination: If this is your dog’s first rabies shot, most countries require a 21 to 30-day waiting period after vaccination before the dog can travel.
- Booster shots: Keep boosters current with no gaps. If coverage lapses, many countries treat it as a primary vaccination and you’ll restart the waiting period.
- 1-year vs 3-year vaccines: Some countries only recognize 1-year rabies vaccines, even if your vet administered a 3-year version. Check your destination’s rules.
The Rabies Titer Test
This is the big one that catches people off guard. Rabies-free countries (Japan, Australia, New Zealand, the UK, Singapore, and others) often require a rabies titer test — also called a rabies antibody test or FAVN test.
This is a blood test that measures whether your dog’s body has produced enough antibodies in response to the rabies vaccine. It can only be done at approved laboratories (the list is short and published by each country’s government).
The process works like this:
- Your dog gets the rabies vaccine (or booster)
- You wait at least 30 days
- Blood is drawn and sent to an approved lab
- Results take 2-4 weeks to come back
- Some countries require the test to be done within a specific window (e.g., within 6 months of arrival but not more than 12 months before)
If your dog fails the titer test, they’ll need to be re-vaccinated and re-tested. That’s another month of waiting at minimum. Start early.

Step 4: Visit the Vet for a Health Certificate (10 Days Before Travel)
The international health certificate is your dog’s official travel document. It’s a form completed and signed by a USDA-accredited veterinarian that confirms your dog is healthy and has met all the destination country’s requirements.
Timing is critical here. Most countries require the health certificate to be issued within 10 days of your arrival date (not your departure date). Get it done too early, and it expires before you land.
Depending on your destination, the certificate may also need to be endorsed by your state’s USDA Veterinary Services office. This adds another 1-3 business days to the process, so plan accordingly.
The health certificate typically includes:
- Your dog’s identification (microchip number, breed, age, sex)
- Proof of rabies vaccination and other required vaccines
- Results of any required blood tests
- Confirmation of parasite treatments (tapeworm, ticks)
- A statement that the dog has been examined and found healthy
Bring copies of every vaccination record and test result you have. Your vet will need them to fill out the forms accurately.
Step 5: Choose Your Airline and Book
Not all airlines handle pet travel the same way. Some are significantly better than others. When we flew to Europe, we researched extensively and the differences were striking.
Cabin vs. Cargo
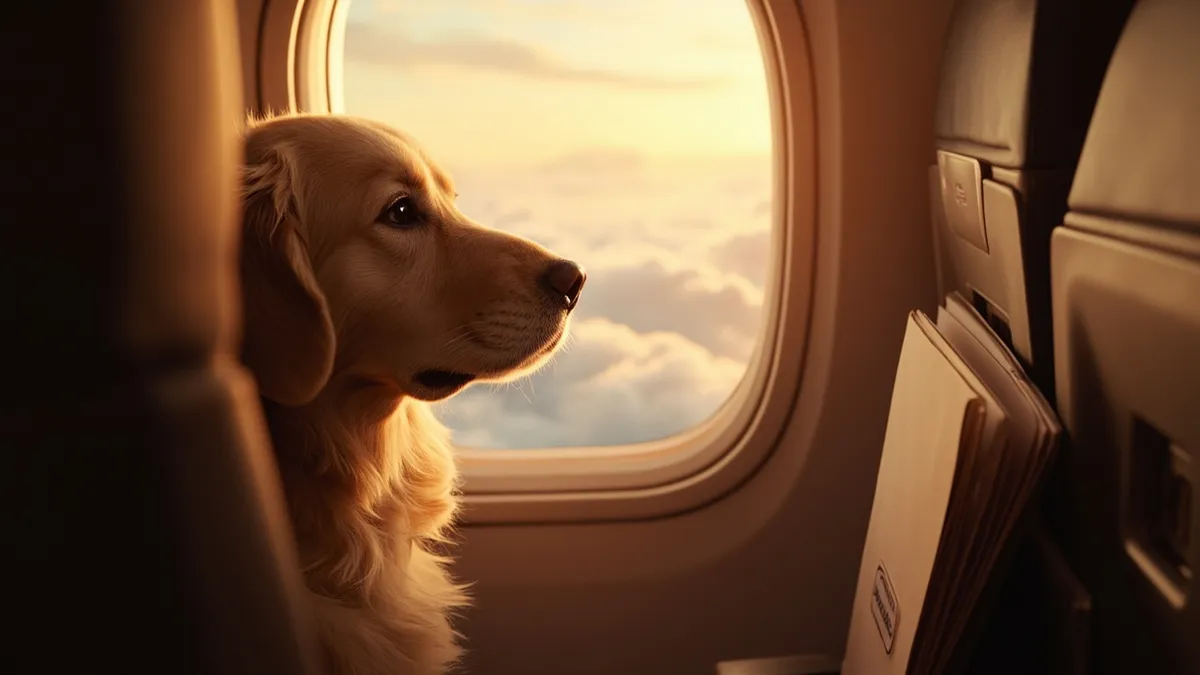
- In-cabin: Available on many international flights for small dogs (typically under 20 lbs including the carrier). Your dog stays under the seat in front of you. This is by far the least stressful option, but size restrictions are strict.
- Cargo hold: For larger dogs, this is usually the only option. The cargo hold on commercial flights is climate-controlled and pressurized — it’s not the same as shipping freight. But your dog will be separated from you for the entire journey, including boarding, deplaning, and any layovers.
Some airlines that are generally considered good for pet travel include Lufthansa, KLM, Air France, and Swiss. They tend to have dedicated animal handling teams and more transparent policies. We flew Lufthansa with our golden retriever and the experience was genuinely smooth.
Booking Tips
- Book directly with the airline, not through a third party — pet reservations often can’t be made on booking sites
- Call the airline to confirm pet availability on your specific flight — capacity is limited
- Book early, especially in summer when pet spots fill up fast
- Avoid flights with layovers in countries that have their own pet transit requirements
- Try to book direct flights when possible
- If you have a brachycephalic breed (bulldog, pug, french bulldog), be aware that many airlines restrict or ban these breeds from cargo travel due to breathing difficulties
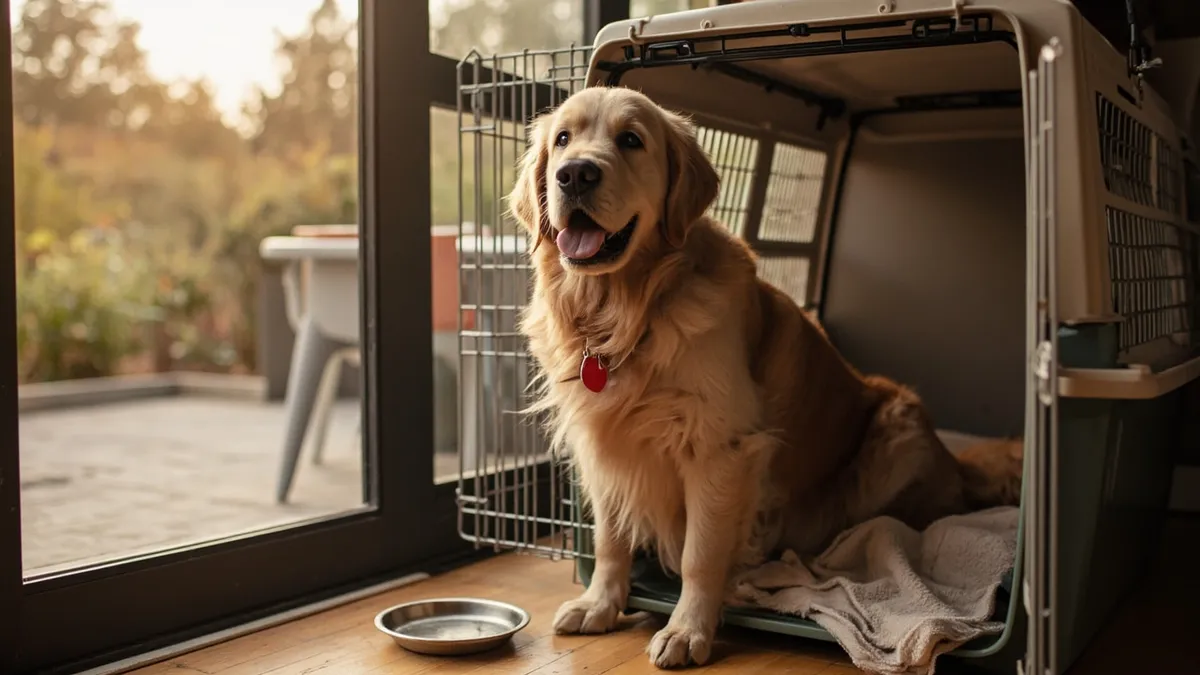
Step 6: Get the Right Travel Crate
For cargo travel, your dog needs an airline-approved crate (IATA-compliant). This isn’t optional — the airline will reject anything that doesn’t meet their standards.
The crate needs to be large enough for your dog to stand up, turn around, and lie down comfortably. Measure your dog carefully while they’re standing. The crate size guidelines are:
- Height: top of your dog’s head (including ears) to the floor, plus a few inches
- Length: from nose to tail base, plus a few inches
- Width: at the widest point of the shoulders, plus a few inches
If your dog is between sizes, go bigger. A crate that’s too small will be rejected.
Secure the crate door with zip ties (in addition to the built-in latch). Line the bottom with an absorbent pad. Clip a small water dish to the inside of the door. Attach a tag to the crate with your dog’s name, your name, your destination phone number, and a photo of your dog.
Step 7: Prepare Your Dog for the Journey
If your dog isn’t crate-trained, start weeks before the trip. Leave the crate open in your house with treats and toys inside. Gradually increase the time they spend in it. The goal is for the crate to feel like a safe, familiar space — not a punishment.
A few things we’ve found helpful:
- Put a worn t-shirt (your scent) in the crate — this genuinely seems to help
- Freeze water in the attachable bowl so it thaws slowly during the flight
- Don’t feed your dog within 6 hours of departure to reduce the risk of motion sickness and accidents in the crate
- Take your dog for a long walk or run before heading to the airport
- Stay calm yourself — dogs pick up on our anxiety more than we realize
Do not sedate your dog. Airlines explicitly prohibit sedation because it can interfere with breathing at altitude. If your dog has severe anxiety, talk to your vet about anxiety wraps or natural calming supplements like Adaptil, but do this well before travel day.
Step 8: What to Pack in Your Dog’s Travel Kit
Keep a separate bag for your dog’s essentials. You’ll want:
- A sturdy leash and collar with ID tags (include a phone number that works at your destination)
- A collapsible travel bowl
- Enough of their regular food for the trip plus a few extra days
- Treats
- Waste bags
- Any medications they take
- A copy of all health documents (keep originals with you, not in checked baggage)
We also pack a familiar toy or blanket. The small comforts matter more than you’d think when your dog is in an unfamiliar place.
Step 9: Arrival Day
When you land, go through immigration first (without your dog), then proceed to the customs area to collect your dog. In some countries, you’ll need to present your health certificate and other documents to a veterinary officer.
Don’t be surprised if there’s an additional inspection or processing fee. Some countries charge for this at the border. Have local currency available.
If your destination requires quarantine, your dog will be transported to the quarantine facility. Visit schedules and policies vary, so check these details beforehand.
Once you’re through customs and have your dog, get them outside for a walk as soon as possible. They’ve been in a crate for a long time. Let them stretch, sniff around, and decompress.
How Much Does It All Cost?
Here’s a rough breakdown of what we spent for our golden retriever’s trip to Europe (from the U.S.):
- Microchip: $50-75
- Rabies vaccination: $25-50
- Rabies titer test: $150-300 (lab fee)
- Veterinary health certificate: $100-250
- USDA endorsement: $35-100
- Airline pet fee (cargo): $200-700 each way (varies wildly by airline and route)
- Travel crate: $75-200
- Parasite treatments: $30-80
Total: roughly $650-1,500+ depending on your route and destination. Australia and New Zealand will be significantly more due to mandatory quarantine fees.
When It Might Not Be Worth It
We love traveling with our dogs, but we’re also realistic. There are situations where leaving your dog at home is the better call:
- Very old dogs or dogs with serious health conditions
- Brachycephalic breeds facing summer cargo restrictions
- Short trips where the stress of travel outweighs the benefit
- Destinations with extremely long quarantine requirements
- Dogs with severe anxiety that doesn’t respond to training or calming aids
There’s no shame in choosing a trusted pet sitter or boarding facility. Your dog will be fine, and you’ll actually enjoy your vacation instead of worrying about paperwork and cargo holds.
Traveling overseas with your dog is one of those things that feels overwhelming until you’ve done it once. After that, you have a system, and the next trip is genuinely manageable. Start early, follow the rules exactly as written, and pack your patience. Your dog will thank you — eventually.
Related Articles
- Dog friendly hotels in Morro Bay: A practical guide for traveling with your dog
- Expedia dog friendly hotels: The ultimate guide to booking pet-friendly stays
- Mammoth dog friendly hotels: where to stay with your dog in Mammoth Lakes, CA
- Valdosta dog friendly hotels: Where to stay with your dog and avoid surprise fees